Showing posts with label handmade. Show all posts

Friday, May 31, 2013

Custom Purple Bird Lunch Bag

It's been a very busy week with custom Lunch Bag orders. Here are 2 using my favorite fabric, Purple bird. The first Lunch Bag is designed to fit the Tupperware Sandwich Keeper Plus, the second Lunch bag is a Large lunch bag so no more tippy over containers at lunch time! (can also fit the Sandwich keeper Plus) Available at BonTons on Etsy https://www.etsy.com/shop/BonTons?ref=si_shop


Wednesday, May 29, 2013

Custom Large Lunch Bag

It has been a busy month developing a new sized lunch bag.
Now available is the Custom Large Lunch Bag. Fully insulated.  Perfect size for those lunches that you don't want to tip over. Large enough to fit Tupperware Sandwich Plus Keeper too! Available in my Etsy store 


Available at https://www.etsy.com/shop/BonTons
Visit my Facebook for more custom orders https://www.facebook.com/BonTons

Tuesday, April 23, 2013

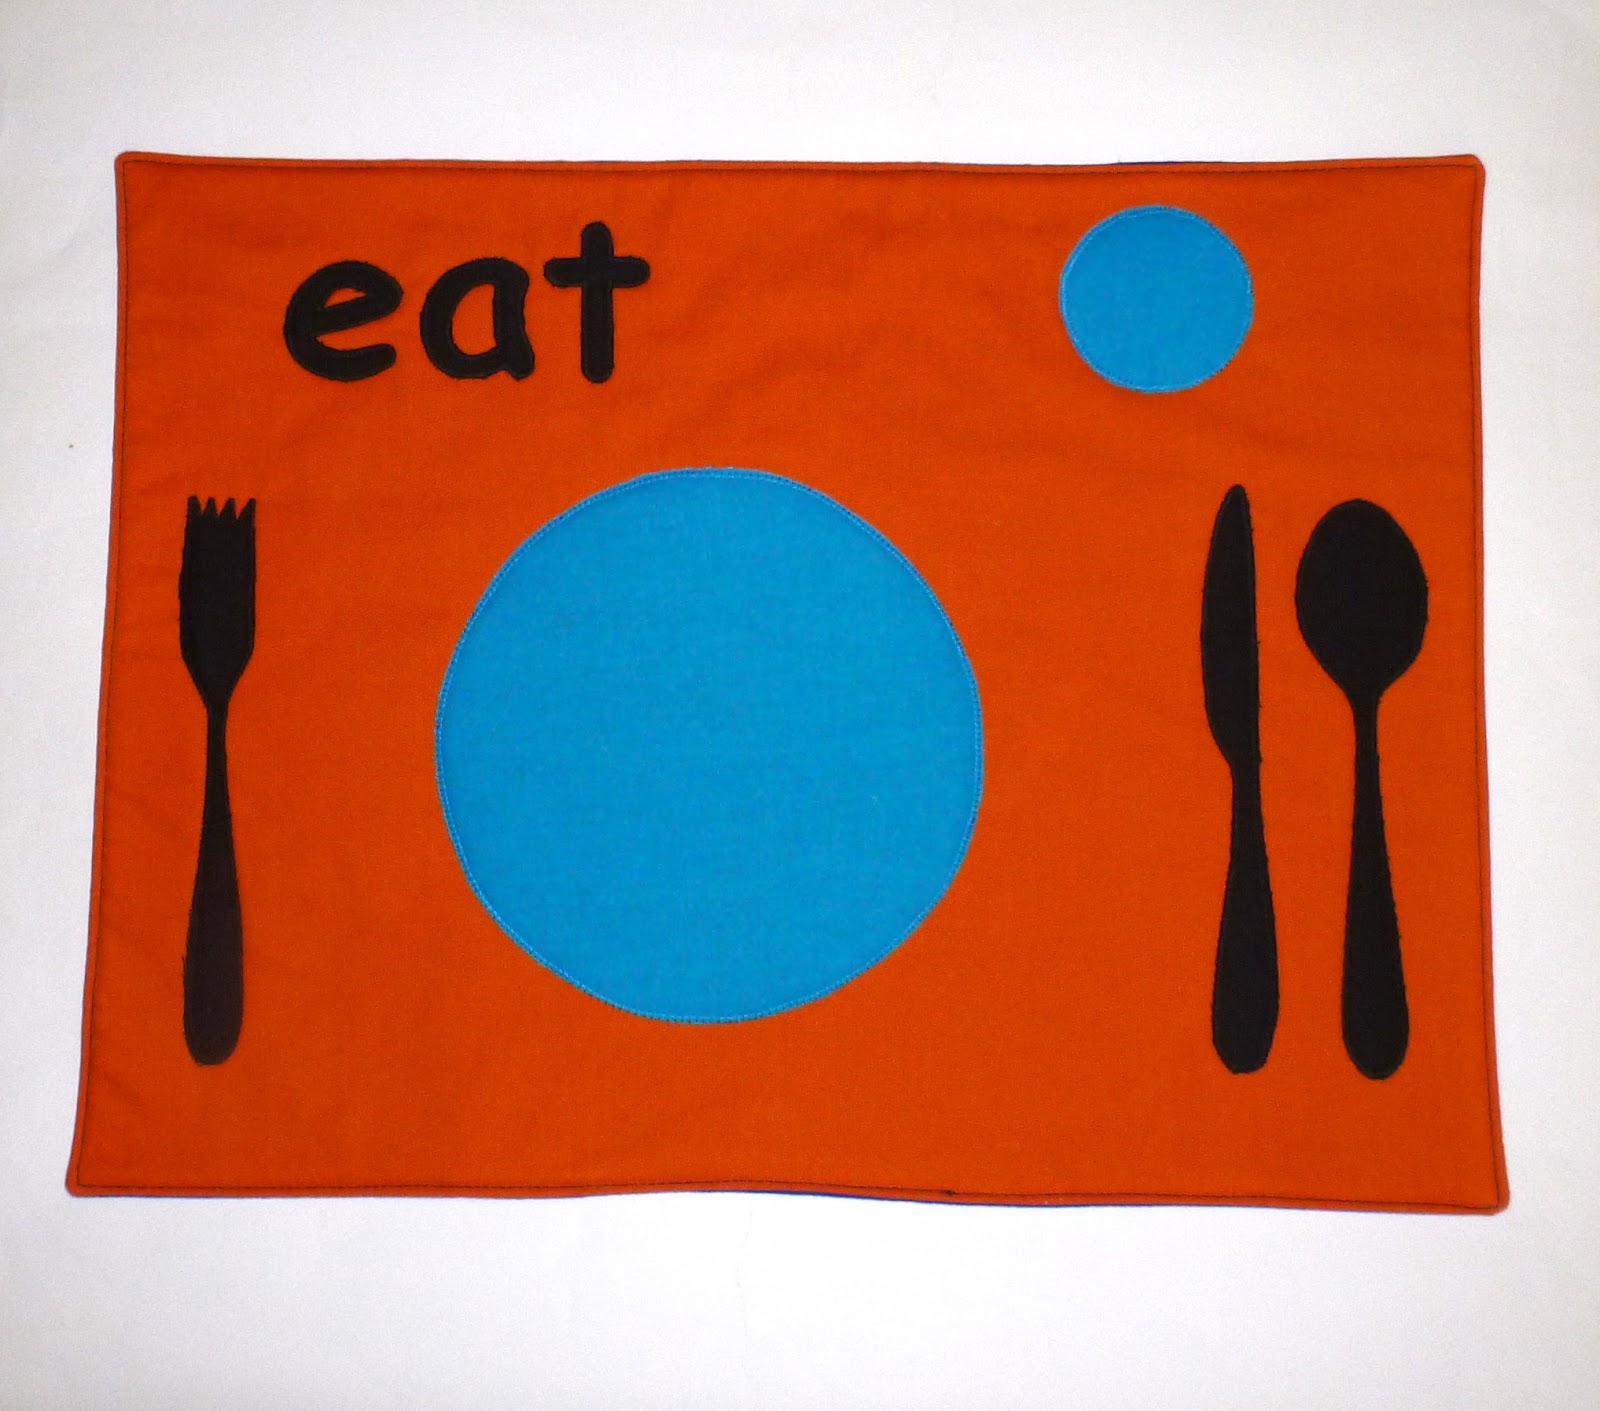
How to sew a Placemat pattern now available!

For all those DIY'ers out there that love to make it themselves, here is your chance to get a sewing pattern to make some of your favourite BonTons Pieces.

A favorite with the kids is my Set the Table Place mat. Encourage learning by doing.  It's a great gift idea so if you're looking for a handmade gift made by you, why not try it.

Available here on Etsy https://www.etsy.com/listing/127769601/pdf-set-the-table-place-mat-how-to-sew?ref=shop_home_feat


Here's some feedback already received on the pattern
I’ve finished it!!! Yours was my first job for the week.  It looks gorgeous.  I will take some photos today and send them through – feel free to use them on your sites in you want.

I had no problems with the pattern – easy to follow

Monday, April 22, 2013

Basic Throw Cushion Tutorial

I love making cushion covers for my home. Here is a quick simple idea to recycle a button up shirt and turn in into something beautiful for the home.

You will need-
1 Button up shirt
Cushion
Embellishments

Measure the size of your cushion. Add 1/2 an inch to the size of your cushion to allow for stitching.

For the back of the cushion - cut 1 piece on the front of the shirt. Be sure to centre the buttons as this will be the cushion opening.  For the front - cut 1 piece from the back of the shirt. 

Embellish the front piece anyway you like or you could leave it plain if the shirt has a nice pattern.  I used a plain shirt so I added some fabrics from my scrap stash and appliqued some letters on it.

On the buttoned piece, stitch about 1 inch to the edge where the buttons are to hold the pieces together.
Unbutton some of the buttons.  Place the 2 pieces right sides together. Stitch all the way around using a 1/4 inch seam.  You can over lock or zigzag stitch the edges for durability.

Turn the completed cushion right side out through the opening. Insert your cushion. Button up.
Enjoy!


 From this Shirt, to this cushion